Running DB Data Generation and Unit Tests in TeamBuild 2010
Using “Data Dude” (or VS DB Professional) in VS 2010 allows you to bring Agile to your database development. You can import a database schema and add it to source control – so you get linking to work items as well as branching and labelling etc. Furthermore, you can use TeamBuild to build a .schema file, and then use vsdbcmd.exe to deploy schema changes (incrementally) to databases. You can also create unit tests and data generation plans.
Importing the schema and building the schema in TeamBuild is straightforward. However, if you want to add running data generation and unit tests in your build, you have to jump through a few hoops.
Let’s go through an example.
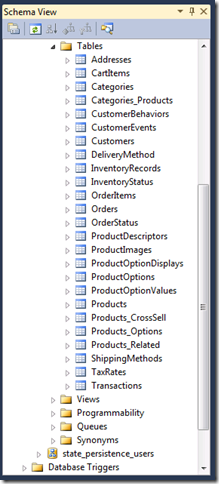
First, we’ll import the schema into a database project using the SQL 2008 Database Wizard project template.
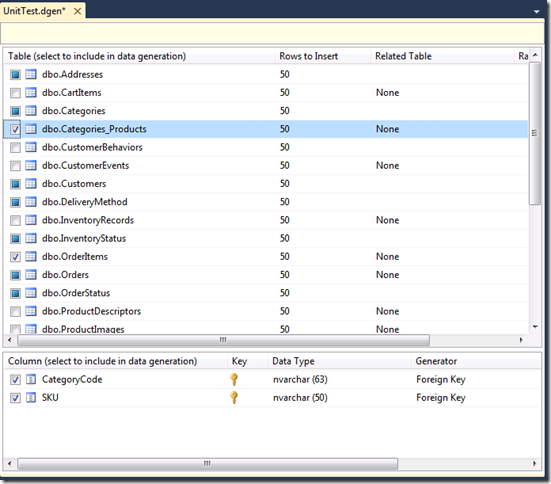
Next, right click the Data Generation Plans folder and add a new Data Generation plan. The details are not important for this example, so just accept the defaults. Press F5 to generate data to the database.
Now go to the schema view and select a stored proc. Right click and select “Create Unit Tests”.
Create a new test project and fill in some tests. Again, the exact details here are not critical – just make sure you’ve got some tests that pass when you run them from Visual Studio.
Next you’ll have to create a build. Check you solution into source control. Then right click the builds node of the project and create a new build definition. Choose the workspace and the drop location, and leave everything else defaulted. This generates a standard build that will compile the database project and then run the unit tests.
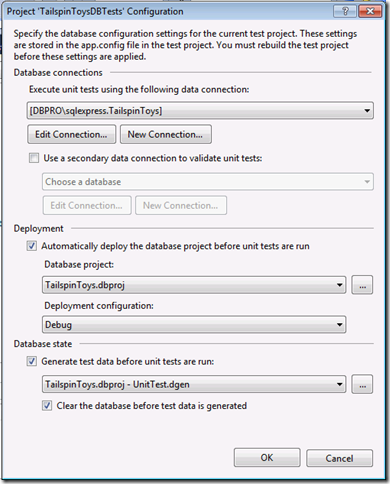
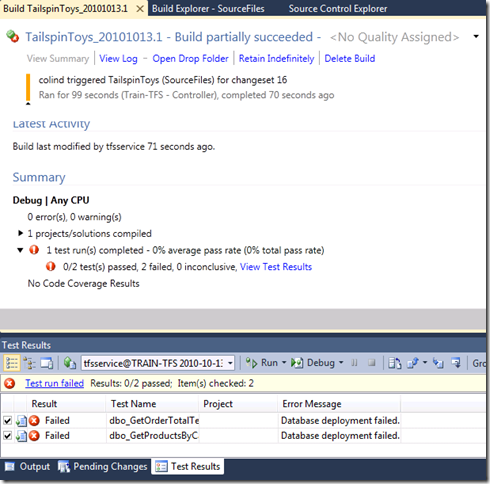
Unfortunately, this build will only partially succeed – the unit tests will fail. This is due to the fact that the paths to the .dbproj and .dgen files are different during a TeamBuild than when we build in VS. So we have to modify the configs.
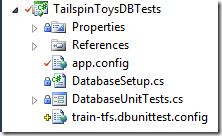
Right click the app.config of the Test Project. Copy and paste it so that you have a copy of the config. Rename this to buildserver.dbunittest.config where buildserver is the name of your build server (this could also be the name of the user running the build). The .dbunittest is important since TeamBuild looks for *.dbunittest.config if we override the default config.
Now remove all the tags except the and its contents. Make sure that the very 1st character of the file is the <, else TeamBuild won’t read this config correctly. Add “..\Sources\” into the paths to the .dbproj file and .dgen files (just after the ....).
<DatabaseUnitTesting>
<DatabaseDeployment DatabaseProjectFileName=”......\Sources\TailspinToys\TailspinToys.dbproj”
Configuration=”Debug” />
<DataGeneration DataGenerationFileName=”......\Sources\TailspinToys\Data Generation Plans\UnitTest.dgen”
ClearDatabase=”true” />
<ExecutionContext Provider=”System.Data.SqlClient” ConnectionString=”Data Source=TRAIN-TFS;Initial Catalog=TailspinToys;Integrated Security=True;Pooling=False”
CommandTimeout=”30” />
<PrivilegedContext Provider=”System.Data.SqlClient” ConnectionString=”Data Source=TRAIN-TFS;Initial Catalog=TailspinToys;Integrated Security=True;Pooling=False”
CommandTimeout=”30” />
DatabaseUnitTesting>
Open up the app.config in the Test project. Add AllowConfigurationOverride=”true” to the tag. This prompts TeamBuild to look for the config we created in the previous step.
<DatabaseUnitTesting AllowConfigurationOverride=”true”>
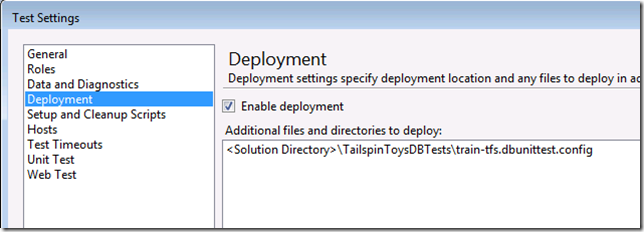
Finally we need to create a new test settings file. Right click the Solution Items folder and add a new item – select the Test Settings item. You can name this whatever you want to and set whatever you want for your settings. The important bit here is to go to the “Deployment” tag and check the “Enable Deployment”. Then click the “Add” button and browse to the buildserver.dbunittest.config file (you’ll have to change the file-type drop-down to *.*). Check in your solution.
Check your solution into source control.
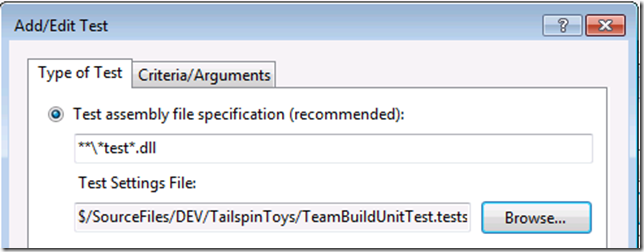
Finally we’ll modify the build. Edit the build definition that you created before. In the Process tab, click the ellipses after the Automated Test Settings to get the test settings dialogue. Set the Test Settings File to be the test settings we just created. If you can’t see the file, it may be that you haven’t checked it into source control – this browser browses source control, not your local drive.
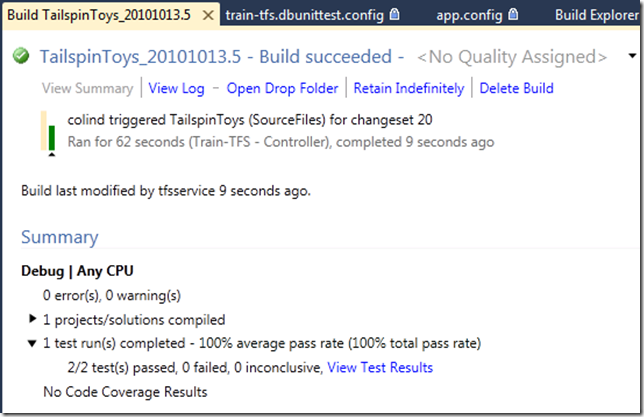
Now queue a build and check that your tests are passing!
